Best Auto Clicker Settings to Maximize Efficiency
Auto Clicker Settings play a major role in how effective automation really is. Many users download an automatic clicker, turn it on, and expect instant results. However, without proper configuration, auto clickers can be slow, inaccurate, or even unusable for certain tasks. This is why understanding how to adjust settings correctly is just as important as choosing the best auto clicker software.
So why do some people see massive productivity gains while others struggle with missed clicks and errors? The answer almost always comes down to setup. When you learn how fast to set auto clicker tools, where to place clicks, and how to control timing, automation becomes smooth and reliable.
In this guide, we focus on real use cases. These include gaming, productivity, testing, and creative work. We also explain how to set up auto clicker tools correctly so they work with you instead of against you.
Introduction to Auto Clickers on Steam
Auto clickers available on Steam are popular because they are easy to install, frequently updated, and supported by active communities. After an auto clicker download, users can quickly configure click intervals, repeat counts, and hotkeys without advanced technical skills.
Many beginners search for how to download an auto clicker and stop there. However, downloading is only the first step. What really matters is how you apply each auto click setting to your specific task.
Auto clickers are commonly used for:
Gaming and idle progression Repetitive office work Automated mouse click testing Design and creative workflows Software quality assurance
Because each of these use cases behaves differently, one universal setup does not work. Instead, efficiency comes from customization.
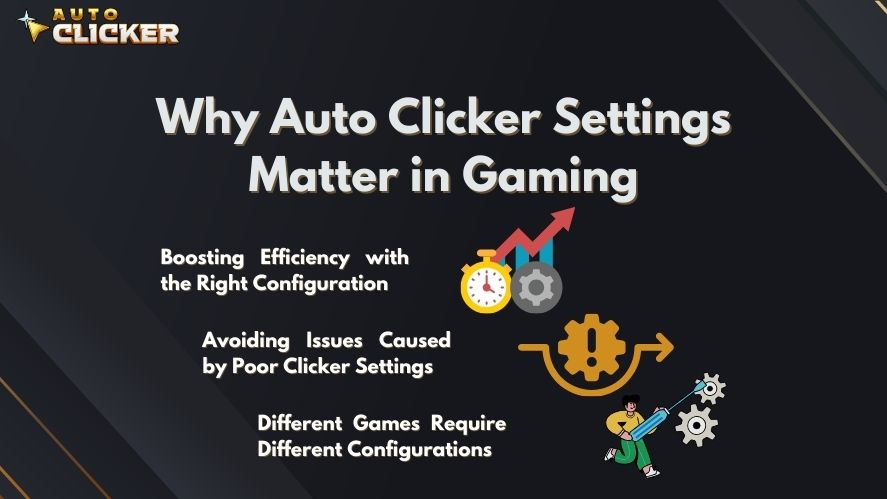
Why Proper Auto Clicker Settings Matter
Auto clickers exist to save time and reduce effort. Still, poor configuration can easily create new problems. Therefore, understanding why Auto Clicker Settings matter helps you avoid frustration early on.
Efficiency Comes from Timing
Click speed directly affects results. If clicks are too fast, software may not register them. If clicks are too slow, automation loses its advantage.
For example, setting a mouse clicker to 5 milliseconds may seem efficient. In reality, many applications cannot process clicks that quickly. As a result, performance drops instead of improving.
This is why knowing how fast to set auto clicker tools is critical.
Customization Improves Accuracy
Different applications respond at different speeds. Games usually handle faster inputs, while office software prefers slower and more deliberate actions.
By adjusting each mouse click setting, you can:
Reduce misclicks Prevent accidental double actions Match the natural pace of the application
As a result, your automated mouse click feels natural rather than forced.
Gaming, Work, and Development Are Not the Same
Auto clickers behave differently depending on use case.
Gaming often benefits from toggle modes and infinite loops Office tasks require limited loops and longer delays Testing needs precise, repeatable patterns
Because of this, creating multiple auto click setting profiles is often the best approach.
Best Auto Clicker Settings for Gaming
Gaming is one of the most common reasons people use auto clickers. However, not all games require the same setup. Below are recommended settings based on popular game types.
Idle and Incremental Games
Idle games are built around constant clicking. Because of that, auto clickers fit naturally into these games.
Examples include:
Cookie Clicker, Adventure Capitalist, Clicker Heroes, Realm Grinder.
Recommended Settings
Click interval: 30 to 100 milliseconds
Loop mode: Infinite loop with toggle on and off
Click location: Fixed cursor position
Mouse button: Left click
These values are often considered the fastest auto clicker settings that still remain stable.
Why These Settings Work
Idle games are designed to handle rapid input. However, extremely fast speeds can still cause problems. Staying above 30 milliseconds keeps clicks consistent while avoiding missed actions.
In addition, keeping the cursor static helps prevent misalignment if the game window moves.
Extra Tips
Create a preset that launches with the game Test different speeds before leaving it unattended Avoid using the mouse for other tasks at the same time
FPS and Action Games (Non Competitive Use)
Some action games allow limited automation for repetitive actions. This is especially true for single player or testing environments.
Examples include:
Minecraft auto mining Terraria repetitive tool use Borderlands weapon testing
Recommended Settings
Click interval: 80 to 300 milliseconds
Mouse button: Right click or alternate button if supported
Activation: Hotkey toggle
These settings provide control while still reducing hand strain.
Important Reminder
Always follow the game’s terms of service. Do not use auto clickers in competitive or multiplayer modes where automation is restricted.
Using an automatic clicker responsibly protects your account and ensures fair play.
MMORPGs and Crafting or Grinding Games
MMORPGs often involve long sessions of repetitive actions. Crafting, farming, and menu navigation are common examples.
Popular games include:
RuneScape, Black Desert Online, The Sims, Stardew Valley.
Recommended Settings
Click interval: 250 to 600 milliseconds
Loop count: Task based, such as 20 to 30 repetitions
Click type: Coordinate based clicking
Slower speeds help the game register each action properly. In addition, coordinate clicks allow navigation through menus without manual input.
Advanced Usage
Many experienced players combine auto clickers with in game macros or hotkeys. This approach allows more complex automation while staying within reasonable limits.
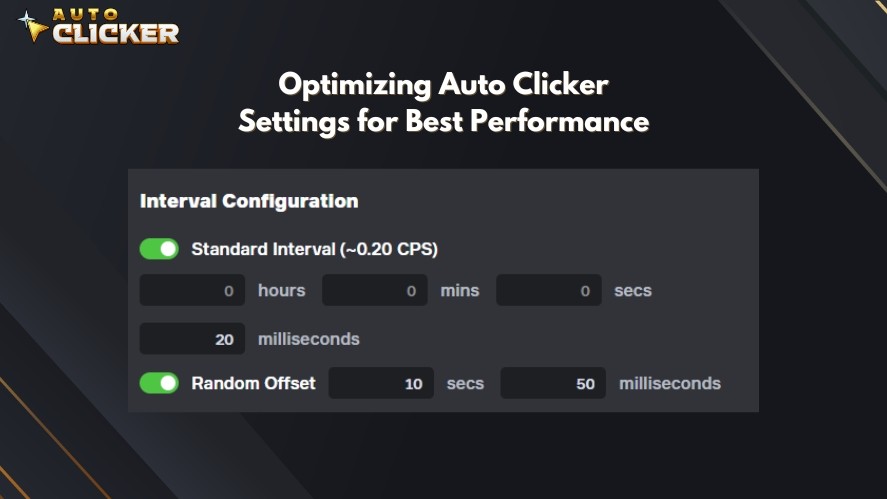
Understanding Click Intervals and Timeouts
One of the most misunderstood features is timing control. Learning how to set timeout on click actions improves reliability, especially for long sessions.
A timeout adds a pause before clicks begin. This gives you time to switch windows or prepare the environment. It also helps prevent accidental clicks in the wrong location.
For example:
A 3 second timeout before starting A 500 millisecond delay between clicks A stop condition after a fixed loop count
Together, these settings create safer and more controlled automation.
Best Auto Clicker Settings for Productivity and Office Tasks
Auto clickers are not just gaming tools. In fact, many professionals use them daily to automate mouse clicks during repetitive work.
Repetitive Data Entry and Form Clicking
Office tasks often involve repeating the same actions over and over. Auto clickers can handle this efficiently.
Examples include:
Spreadsheet data entry CRM system updates Web based form submission
Recommended Settings
Click interval: 400 to 1000 milliseconds
Loop count: Match the number of entries
Click location: Fixed coordinates for each field
Slower intervals reduce errors and give applications time to respond. As a result, accuracy improves along with speed.
This type of automated mouse click is especially useful for documentation and internal tools.
Best Auto Clicker Settings for Software QA and Web Testing
Software testing is one of the most practical uses for auto clickers. Testers often need to repeat the same actions hundreds or even thousands of times. Doing this manually is slow and error prone. Therefore, using an automatic clicker makes sense.
Common QA Use Cases
Button responsiveness testing UI stress testing Regression testing Load simulation for front end elements
In these cases, consistency matters more than speed.
Recommended Settings
Click location: Precise coordinates
Click interval: 100 to 300 milliseconds
Loop mode: Fixed loop count
Timeout before start: 2 to 5 seconds
These settings allow testers to observe behavior clearly while still moving faster than manual input.
Why Precision Matters
In testing, a single pixel difference can change results. That is why coordinate based clicking is preferred. It ensures the same action happens every time.
Many testers also record their screens while using a mouse clicker. This helps document bugs and share results with development teams.
Best Auto Clicker Settings for Online Learning and Virtual Classrooms
Online learning platforms often require repetitive interaction. Clicking next buttons, confirming prompts, or progressing through slides can become tedious during long sessions.
While automation should always be used responsibly, some learners use auto clickers to reduce repetitive strain.
Common Scenarios
Slide based courses Internal company training platforms Long video lesson confirmations
Recommended Settings
Click interval: 3 to 10 seconds
Start delay: Enabled
Stop after: X repetitions
Longer intervals help avoid suspicious behavior. In addition, stop limits ensure the clicker does not run endlessly.
Responsible Use Reminder
Many platforms track activity. Always use automation in ways that align with platform rules. Auto clickers should support learning, not replace engagement.
Best Auto Clicker Settings for Creative Workflows

Creative professionals often deal with repetitive actions that do not require decision making. In these cases, automation becomes a powerful helper rather than a shortcut.
Design and Drawing Software
Design tools involve repeated strokes, clicks, or tool selections. Auto clickers help generate patterns or apply effects consistently.
Examples include:
Photoshop Illustrator Krita
Recommended Settings
Click interval: 30 to 100 milliseconds
Click location: Fixed or relative
Loop mode: Continuous with toggle
These faster settings work well because design software responds quickly to input.
Practical Use Cases
Texture generation Pattern fills Brush stamping
By automating these actions, designers can focus more on creative decisions instead of repetitive motion.
Video and Audio Editing Tools
Editors often repeat the same actions across multiple clips or tracks. Auto clickers reduce the time spent on these repetitive steps.
Examples include:
Premiere Pro DaVinci Resolve Audacity
Recommended Settings
Click interval: 300 to 700 milliseconds
Action sequence: Click, wait, click
Loop count: Based on number of clips
These settings allow editors to batch apply effects, mute tracks, or export files without constant manual input.
Customizing Auto Clicker Settings on Steam
Steam based auto clickers are popular because they offer flexibility and easy profile management. Knowing how to set up auto clicker profiles properly is essential for long term use.
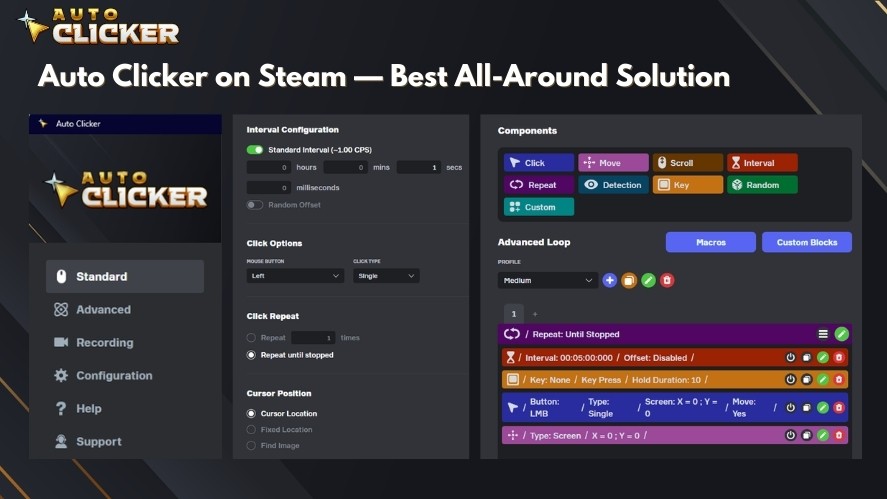
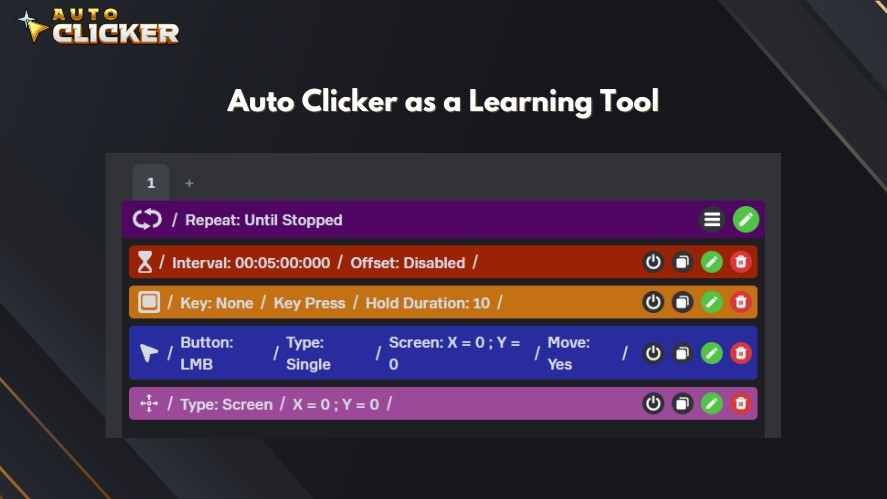
Step by Step Setup Overview
After installing an auto clicker download from Steam, you typically see the following options:
Click interval adjustment Repeat count or infinite loop Click location selection Mouse button choice Hotkey assignment
Each of these controls plays a role in how effective automation feels.
Creating Presets for Different Tasks
Instead of changing settings every time, presets save time.
For example:
Gaming preset with fast clicks Office preset with slower intervals Testing preset with precise coordinates
Switching presets allows you to automate mouse clicks safely across different environments.
Saving, Exporting, and Importing Profiles
Some tools allow profile sharing. This is useful for teams or personal backups. If you work across multiple machines, exporting profiles keeps your mouse click setting consistent.
Pro Tips for Safe and Effective Auto Clicker Usage
Using auto clickers correctly reduces risks and improves results.
Start Slow and Adjust
Begin with conservative speeds. Then increase gradually. This helps you understand how the application responds.
Use Timeouts and Stop Conditions
Learning how to set timeout on click actions gives you control. Always include a way to stop the clicker quickly.
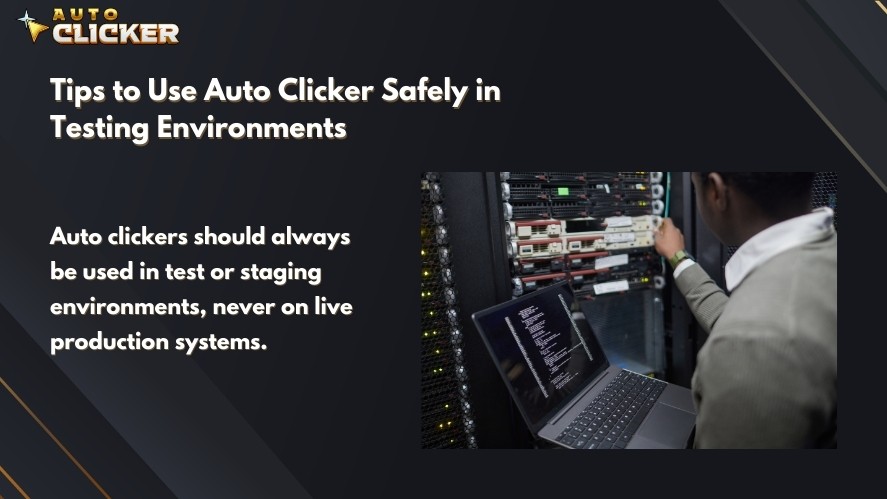
Test in Safe Environments
Whenever possible, test automation offline or in sandbox modes. This is especially important for games and software testing.
Avoid Detection Systems
Do not use auto clickers where automation is clearly prohibited. This protects accounts and avoids penalties.
FAQ About Auto Clicker Settings
In most cases, anything below 20 milliseconds becomes unreliable. Many applications work best between 30 and 100 milliseconds.
Some advanced tools support mouse movement. However, this increases complexity and should be tested carefully.
Intervals above 200 milliseconds with fixed loop limits are generally safer for extended use.
Yes, but features vary. Desktop tools usually offer better control and reliability.
Conclusion
Auto Clicker Settings are the difference between smooth automation and constant frustration. While downloading a tool is easy, configuring it correctly is what delivers real value.
By understanding how fast to set auto clicker speeds, how to manage timing, and how to customize profiles, you can automate mouse clicks efficiently across gaming, productivity, testing, and creative work.
Whether you are using a mouse clicker for idle games, office tasks, or professional workflows, thoughtful configuration ensures automation works with you, not against you.
Excel Auto Clicker Guide for Automating Repetitive Tasks

Auto Clickers Compared: Best Free and Paid Tools in 2026 (Updated & Ranked)