App Optimization for Auto Clicker: RTX and GTX Performance Tips
App Optimization is essential when using Auto Clicker on systems with RTX or GTX graphics cards. This powerful tool, widely used on platforms like Steam, helps users automate repetitive mouse actions. However, without proper optimization, users frequently report crashes, poor performance, or GPU compatibility issues. Are you experiencing any of these problems?
This in-depth guide provides tailored app optimization tips to help you maximize Auto Clicker’s performance on both RTX and GTX GPUs. Whether you’re looking to fix issues, improve responsiveness, or boost efficiency, this guide walks you through every step with actionable solutions.
Common Performance Issues in Auto Clicker and Why They Happen

Though widely considered among the best auto clicker software, many users encounter errors due to lack of app optimization. These problems often stem from mismatched hardware, system resource limitations, or software conflicts.
Minimum and Recommended System Requirements
One of the easiest app optimization steps is ensuring your PC meets at least the minimum requirements. Despite Auto Clicker being a lightweight utility, some of its more advanced features—like pixel scanning or color-based actions—place demands on both CPU and GPU resources.
Minimum PC Requirements:
- OS: Windows 10 or later
- RAM: 1 GB
- CPU: Intel Pentium Processors
- GPU: Integrated graphics
Recommended PC Requirements:
- RAM: 4 GB RAM
- CPU: Intel i3/Ryzen 3 and above
- Storage: 500 MB available space
- Updated DirectX 12 and graphics drivers
It’s clear that while Auto Clicker can run on modest hardware, macro tool optimization becomes more stable with a discrete GPU and proper RAM availability.
Crash on Opening Advanced Tab – What’s Going On?
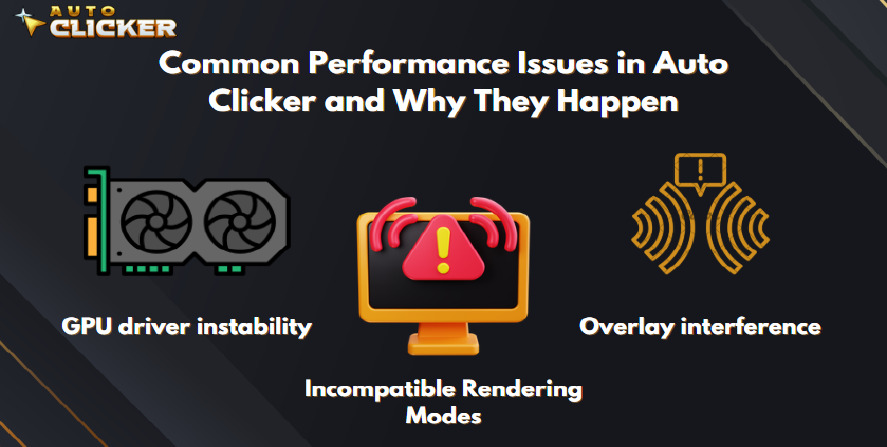
A well-known bug causes Auto Clicker to crash when accessing the “Advanced” tab. Unfortunately, this occurs more frequently on systems with high-end GPUs due to driver conflicts or memory allocation issues.
Possible Causes Include:
- GPU driver instability
- Overlay interference (e.g., Steam Overlay, Discord, or GeForce Experience)
- Incompatible rendering modes
To avoid this, users should consider app optimization methods like disabling overlays or adjusting launch settings (covered in detail later).
Compatibility Challenges with RTX and GTX GPUs
RTX and GTX cards, while powerful, introduce complexity due to their default use of hardware overlays and automatic switching between integrated and discrete graphics—especially on laptops. Because Auto Clicker uses system-level hooks for automated mouse click operations, permission or driver issues can occur.
For example, overlays running in the background can intercept click commands, resulting in delays or failed executions. That’s why it’s crucial to set the app to use the high-performance GPU and run it with administrator privileges.
Differences Between Laptop and Desktop Usage
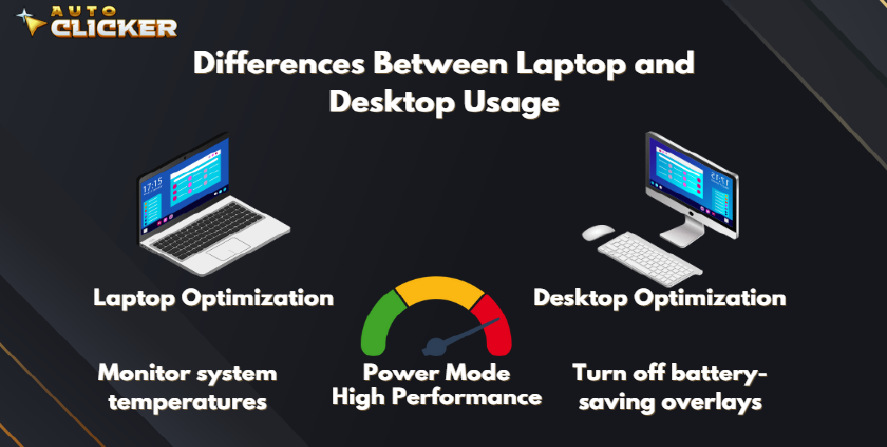
Desktop optimization is straightforward: power isn’t an issue, and thermal throttling is rare. However, laptops often suffer from performance dips due to battery-saving settings, especially when unplugged.
Laptop App Optimization Tips:
- Use “High Performance” power mode
- Disable NVIDIA Optimus or manually select discrete GPU
- Monitor system temperatures
- Turn off battery-saving overlays or system processes
Following these steps ensures auto click routines run without lag or interruption.
Step-by-Step Optimization Guide for Auto Clicker on Steam
Effective app optimization involves more than just hardware—it’s about smart configuration. This section walks you through proven steps to maximize performance on both RTX and GTX systems.
Update Auto Clicker to the Latest Version
Software updates are frequently rolled out to address glitches and enhance compatibility with graphics cards.
Steps to Update:
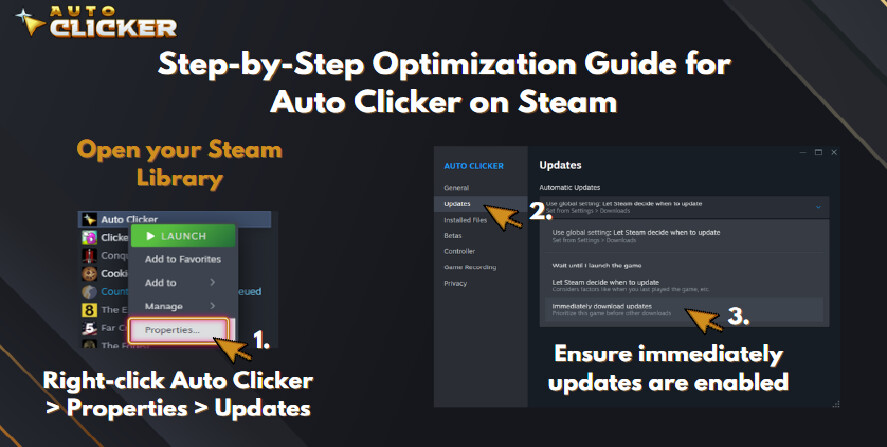
- Open your Steam Library
- Right-click Auto Clicker > Properties > Updates
- Ensure immediately updates are enabled
Updates can resolve compatibility problems and provide smoother automated clicker functionality.
Modify Launch Settings for Better Compatibility
Advanced launch options can drastically improve stability, especially if you experience crashes at startup or during high-frequency tasks.
Recommended Launch Options:
- -force-d3d11 (DirectX 11 compatibility)
- -disableGPUAcceleration (disables GPU-accelerated features)
- -noWorkshop (avoids loading external scripts)
Add these in Steam → Auto Clicker → Properties → General → Launch Options.
Disable Unnecessary Background Apps
Running too many background processes can disrupt the timing and accuracy of mouse click automation.
Apps to Disable:
- Google Chrome or other RAM-heavy browsers
- Streaming software like OBS or Spotify
- Discord with overlay enabled
- Game launchers or update services
By disabling these, you free up CPU and GPU resources essential for smooth operation.
Use Compatibility Mode or Run as Administrator
Right-click on the Auto Clicker executable, then choose:
- “Run as administrator”
- Enable compatibility mode for Windows 10 or 8
These settings help resolve system-level permission conflicts, which can interfere with auto clicker pc operations.
Adjust Graphics Settings (NVIDIA Control Panel Tips)
Head over to NVIDIA Control Panel > Manage 3D Settings > Program Settings tab. Then:
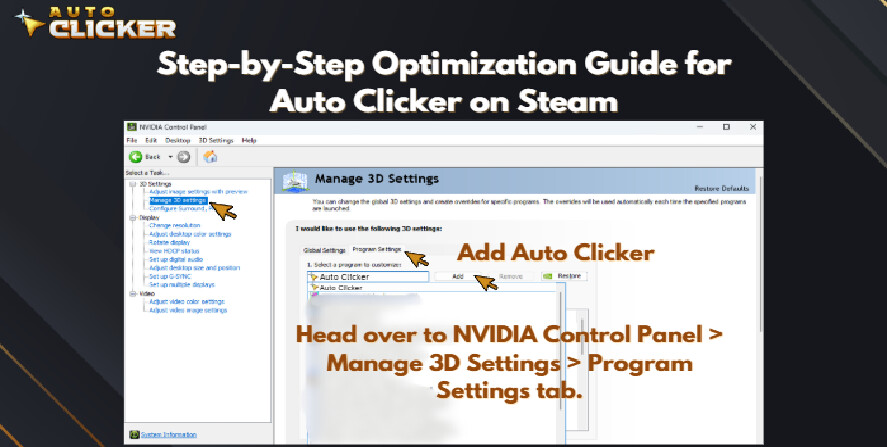
- Add Auto Clicker
- Set “Preferred GPU” to “High-Performance NVIDIA Processor”
- Turn Vertical Sync off
- Set “Power Management Mode” to “Prefer Maximum Performance”
- Disable GeForce Overlay
These app optimization steps reduce frame delay and ensure GPU resources go directly to your automation tasks.
Fixing Cloud Save and Sync-Related Crashes
Steam’s cloud sync feature can cause sync errors, especially when switching PCs or reinstalling the app.
What Cloud Save Does and When to Turn It Off
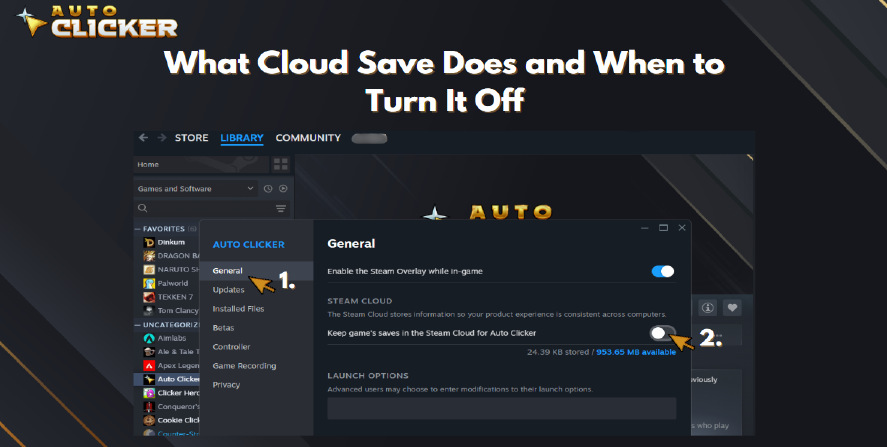
While convenient, cloud saves may:
- Corrupt settings files
- Cause startup crashes
- Conflict with newer versions of Auto Clicker
Disable via: Steam > Auto Clicker > Properties > General > Uncheck “Keep saves in the Steam Cloud”
Manual Save File Backup Instructions
To avoid losing your configurations, back up your settings manually:
- Navigate to %AppData%\Local\AutoClicker\
- Duplicate the folder and store it on another drive location
- Restore as needed when troubleshooting
This method ensures your clicking tool settings remain intact and accessible.
Alternative Solutions for Macro Users
Not every user needs the same level of complexity. Depending on your needs, other auto clicker download tools may be worth exploring.
Other Macro Tools with Color Detection Features
- Pulover’s Macro Creator
- Ideal for scripting-heavy tasks
- Supports conditional clicks
- TinyTask
- Super simple UI
- Perfect for repetitive basic macros
- GS Auto Clicker
- Classic tool
- Lacks advanced detection, but easy for beginners
However, if simplicity and support are priorities, Auto Clicker remains the best overall automatic clicker for most users.
Why Auto Clicker on Steam Remains a Top Choice for Ease of Use
- 🖱️ No installation files, just Steam-based launch
- 💻 Friendly to both power users and beginners
- 🔁 Frequent updates
- 🧰 Simple UI with powerful configuration
- 🎯 Excellent for testing “how fast can you click” routines
Auto Clicker’s balance of power and ease is why it’s still one of the top-rated automated click tools on Steam.
Community Fixes and User Recommendations
The community around Auto Clicker is highly active, and many issues have been solved by power users on Steam forums.
Popular Fixes Shared on Steam Forums and Reddit
- Use “legacy input” setting to reduce crash frequency
- Always run the app outside of fullscreen mode
- Set click interval to >1ms to avoid anti-cheat flags
- Share custom config files for troubleshooting
Engaging with the community is often the fastest way to solve problems—especially if you’re not sure how to fix auto clicker issues yourself.
How to Submit a Bug Report Effectively
Help improve the software by reporting bugs responsibly:
- Document the issue with screenshots or logs
- Provide PC specs (CPU, GPU, RAM, OS version)
- Mention Auto Clicker version and steps to reproduce
You can post these directly in Steam Discussions or email the developer.
Conclusion
To wrap it up, app optimization for Auto Clicker—especially when using RTX or GTX GPUs—can drastically improve stability, responsiveness, and user satisfaction. From updating software and disabling overlays to tweaking graphics settings and submitting bug reports, users now have a full toolkit to improve performance.
In this guide, you’ve learned:
- How to meet system and GPU requirements
- How to fix common crashes and sync issues
- Alternative macro tools for specific needs
- Best practices from the Auto Clicker community
Start implementing these tips today and enjoy a smoother, more powerful Auto Clicker experience tailored for your GPU setup.

Keyboard Auto Clicker: How to Set Up and Optimize for Gaming

Auto Clicker Macros: Best Way to Manage Task Automation Easily